Start Developing Locally
1. Install Docker Engine and Docker Compose
Mac OSX
Window
2. Clone Swiple GitHub Repository
Clone Swiple GitHub Repository in your terminal with the following command:
git clone https://github.com/Swiple/swiple.git
# or
git clone git@github.com:Swiple/swiple.git
Once the command completes successfully, you should see a new swiple folder in your current directory, navigate to it.
cd swiple
3. Install make
make allows us to bundle multiple commands into one making development easier.
Mac OSX
If you don't have Homebrew, follow the steps on their homepage.
Install make on Mac with Homebrew:
brew install make
Windows
If you don't have Chocolatey, follow the steps here.
Install make on Windows with Chocolatey:
choco install make
4. Setup Python Virtual Environment
Swiple has only been tested using Python 3.9.
If you are running on Apple Silicon run:
brew install postgresql
Install Poetry
Follow Poetry's Installation instructions here.
# Create virtualenv in project
poetry config virtualenvs.in-project true
Install Dependencies
cd backend
poetry install --with postgres,redshift,mysql,trino,athena,snowflake,aws-secrets,gcp,azure-secrets,dev
cd ..
5. Setup Swiple UI
If you don't have Node, follow the steps here.
Mac OSX
npm install --prefix ./frontend/
Windows
cd frontend
npm install
cd ..
6. Run Docker Containers
Run docker containers. Changes made to code will trigger a reload.
make
Running make does the following for you:
- Builds the Docker Images for
swiple-apiandswiple-ui. - Runs
docker-compose up, starting all services needed to run Swiple.
Changes made to code will trigger a reload of the API or UI.
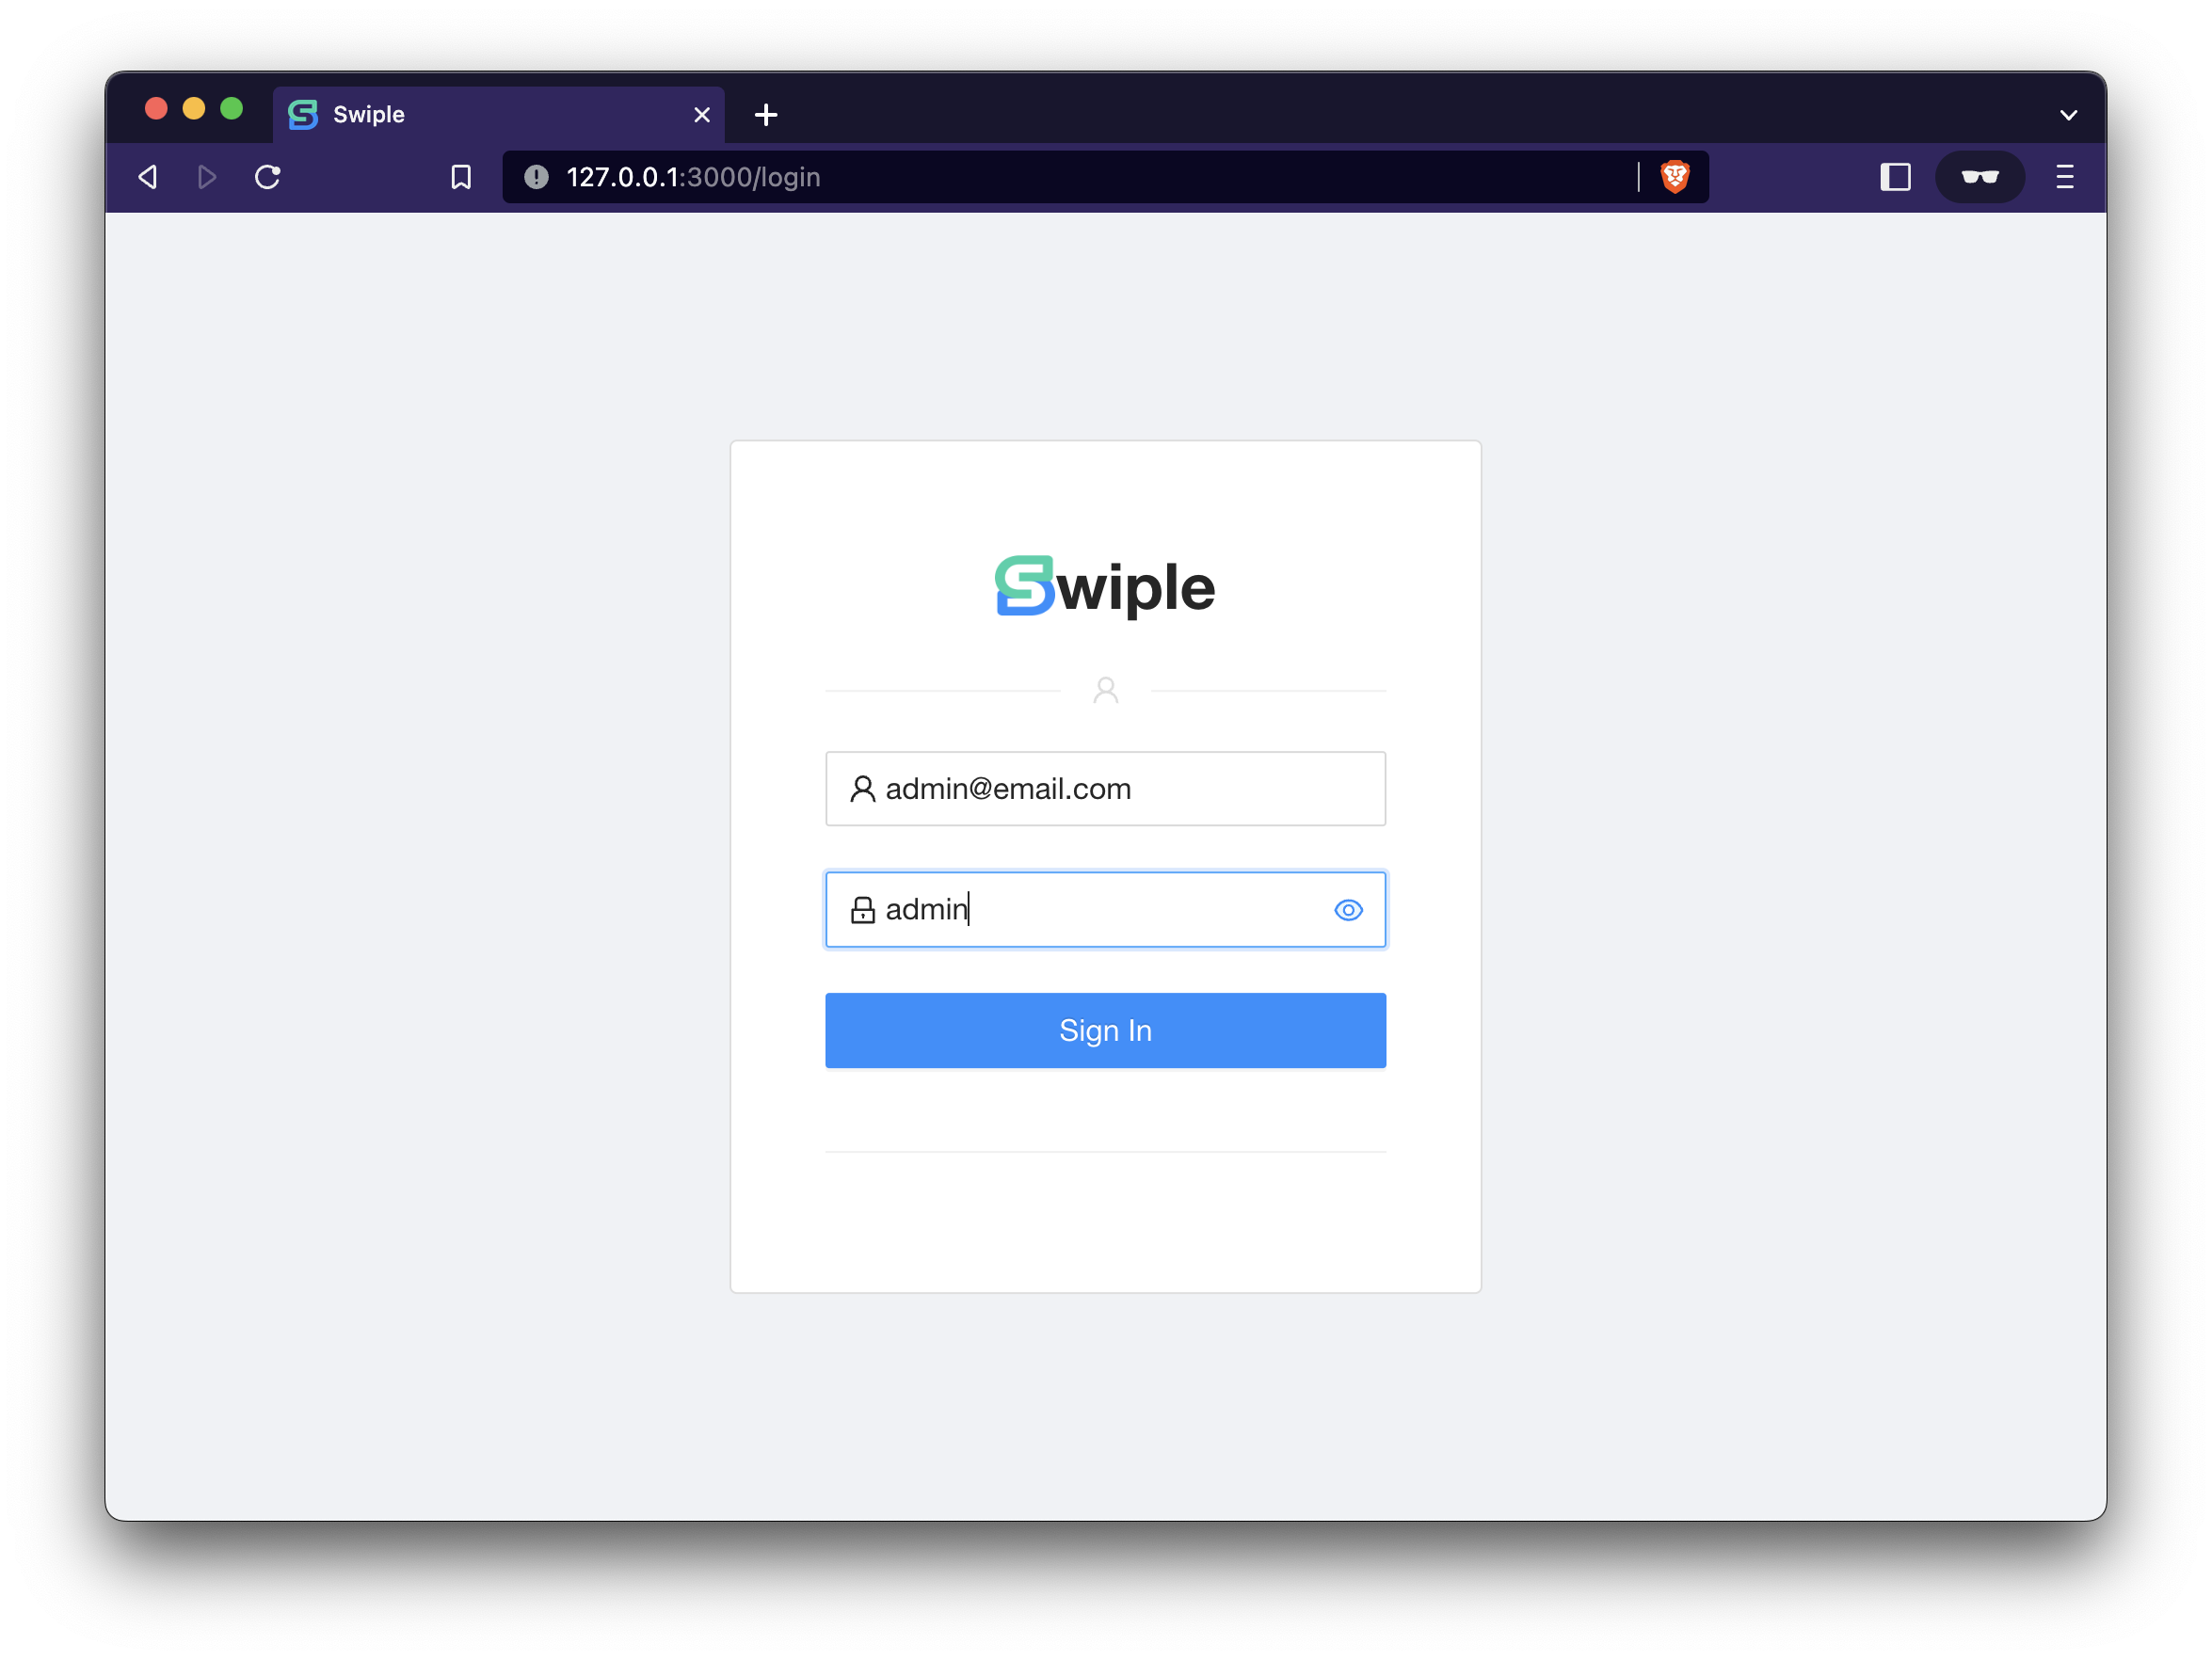
7. Sign in to Swiple at http://127.0.0.1:3000/login

Nice work! 👏 😎
ADMIN_EMAIL and ADMIN_PASSWORD can be set in docker/.env
To avoid authentication issues during local development, AUTH_COOKIE_SECURE is set to False in your docker/.env.